Easy Mexican-Style Pinto Beans from Scratch (Stovetop, 1-Pot!)
Disclosure: This post may contain affiliate links; more info here.
As a Southern Californian girl, I grew up on Mexican food. Pinto beans, rice, tortillas, cilantro, and avocados were kitchen staples I could always count on.
And I wouldn't have it any other way – especially when the beans in question were my mom's spicy Mexican-style pinto beans from scratch.
Today, I'm sharing my recipe for homemade Mexican-inspired pinto beans. They're made from scratch, perfectly tender, healthy, and packed with rich, balanced, spicy flavor (think: cumin, garlic, cilantro, tomato, and chipotles in adobo).
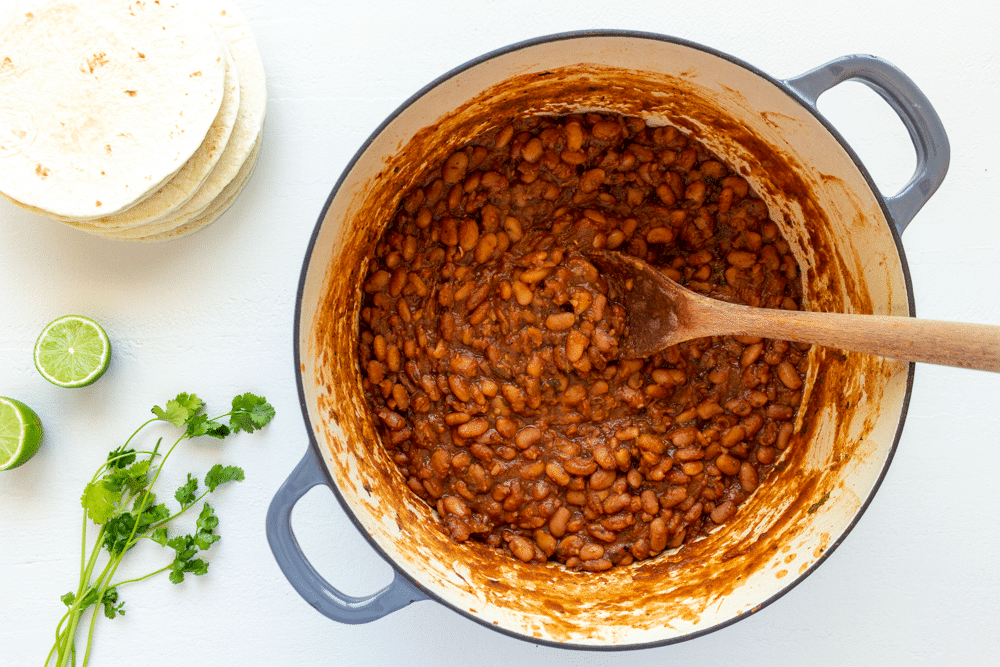
This recipe is a twist on the one I grew up devouring – inside of bean & cheese burritos or bean & egg breakfast burritos, spread onto jackfruit tinga tostadas, as a side dish with rice, and in Mexican-style burrito bowls with salsa roja.
You'll love these Mexican pinto beans (A.K.A. frijoles de la olla). They are:
- Spicy, savory, and full of flavor
- Tender and perfectly cooked
- Healthy and vegan
- Versatile; perfect with any Mexican-style meal
- Totally addictive
- Easy to make (no overnight soaking!)
- Require one pot and staple ingredients
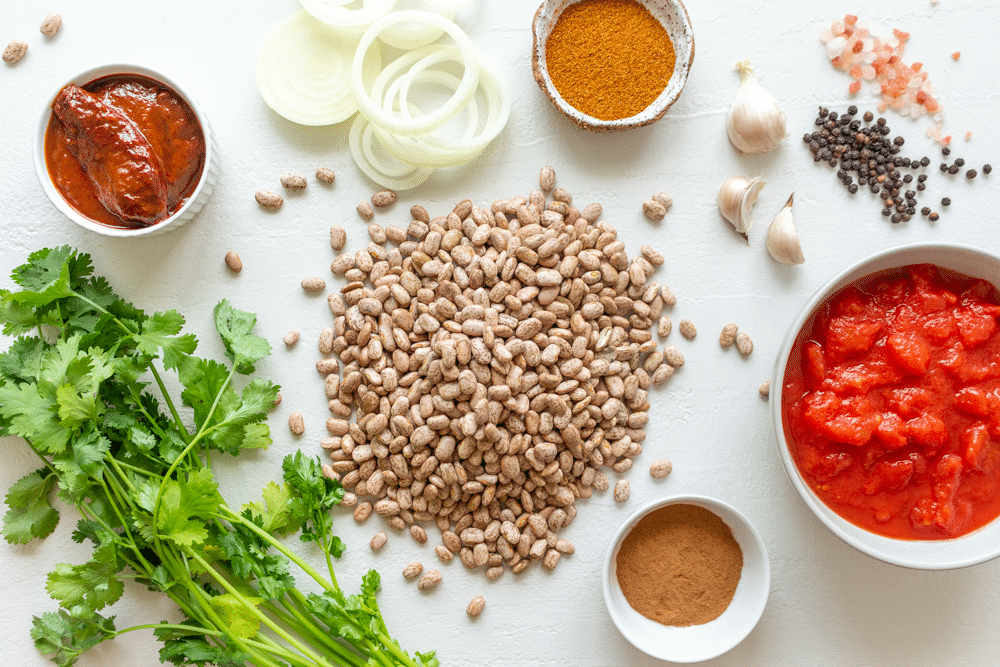
Ingredients for Mexican-Style Pinto Beans
The beauty of these spicy homemade pinto beans is you only need 12 ingredients – or 10, if you don't count the salt and pepper.
This homemade pinto beans recipe calls for a combination of fresh produce, pantry staples, and Mexican spices.
You will need:
- Dried pinto beans
- A yellow onion
- A few cloves of garlic
- Vegetable stock or filtered water
- Diced tomatoes (fresh or from a can)
- A bunch of fresh cilantro (or ground coriander)
- Ground cumin
- Chili powder
- Chipotle peppers in adobo sauce
- Ground Ceylon cinnamon (this is not the same as normal cassia cinnamon!)
- Sea salt and black pepper
Why Make Pinto Beans from Scratch?
There are three main reasons why it's best to make beans from scratch.
- Homemade beans taste better. Like, so much better! When it comes to flavor, there is no comparison between canned beans and homemade beans.
- Many canned beans are heavy in salt and full of nasties (like BPA). When you make your own beans, you can control everything, from whether the beans are organic to how much salt and spice you add.
- Making your own beans is cheaper and better for the environment. Dried beans cost less than canned beans, and overall, there's less waste involved. Plus, you can make a big pot of beans and turn some of them into refried beans, or freeze a portion so you always have the delicious flavors of México on hand!
How do you cook pinto beans from scratch?
To make pinto beans from scratch, all you need is a stove and a heavy-based pot (like a cast-iron Dutch/French oven).
You don't need much time either – just 15 minutes of active prep, and a few hours soaking and simmering away.
I like to make my pinto beans from scratch on the stove, but if you want to adapt the cooking method and use an Instant Pot or slow-cooker/crock pot, you can.
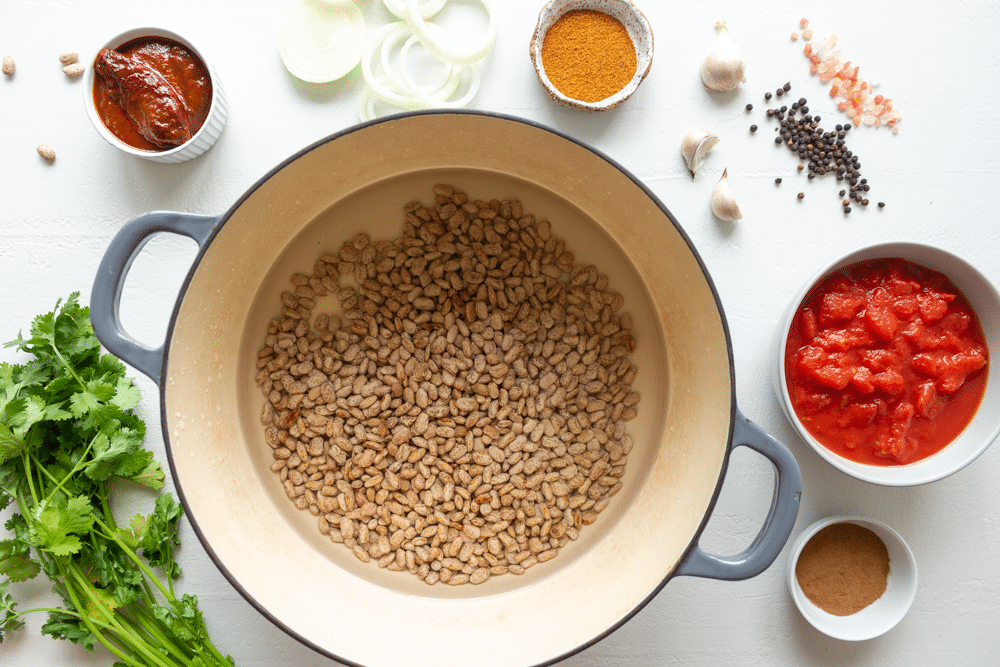
Soak Method: Do Pinto Beans Have to Soak Before Cooking?
Let's talk about the soak method.
The first step to making homemade pinto beans is soaking the dried beans in liquid to soften them up before boiling.
Most people believe that beans need to soak for many hours (or overnight), or else they won't cook through nicely. Many recipes say this, but it's actually not true. You do not need to soak pinto beans overnight.
I've tried lots of different soaking and cooking methods, and I've figured out that this “quick soak” method is optimal. Soaking pinto beans for 2 hours in room temperature water or broth is the perfect amount of time. In just 2 hours, your beans will soften up and yield a perfectly tender pot of beans! If it's more convenient, you can still soak your beans for more than 2 hours (or overnight), but it's not at all necessary.
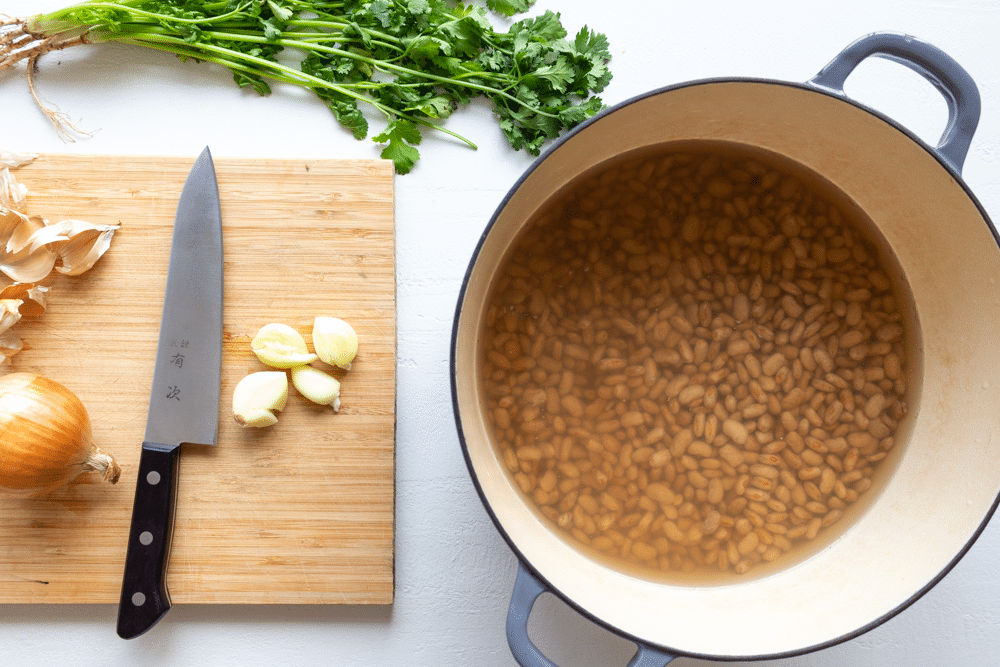
Then, you cook the beans in the same liquid they've been soaking in.
Why? Because that liquid is already full of rich “beany” flavor and deep color. It's also thicker, which allows the broth to thicken up even more than if you were to drain and rinse the beans and refill the pot. And as a bonus, this way is less wasteful!
How Long Does it Take to Cook Pinto Beans?
After soaking the beans for 2 hours, they need to cook on the stovetop for about 3 hours, until the beans are tender and the spicy broth has thickened up.
Steps for Making the Perfect Mexican Beans
- Step 1: Soak the beans. Add the dried beans and 8 cups of room-temperature vegetable broth or filtered water to a heavy-based pot, like a Dutch oven. Cover the beans with a lid and soak them for two hours. Do not drain and rinse.
- Step 2: Cook the beans in the same broth they soaked in. Put the pot on the stovetop over high heat and bring to a boil.
- Step 3: To the cooked beans, stir in the minced onion, garlic, and sea salt, then bring the pot down to a simmer. Cover the beans with the lid askew, so some of the moisture can escape. Simmer for 1.5 hours.
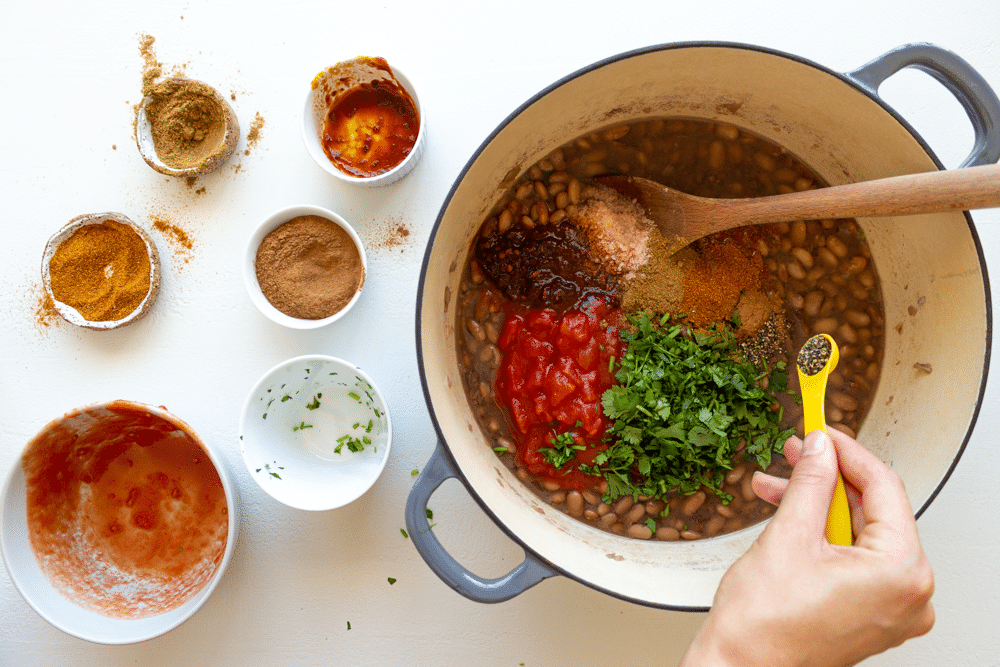
- Step 4: Stir in the diced tomatoes, minced chipotle pepper and adobo sauce, fresh cilantro (or ground coriander), ground cumin, chili powder, Ceylon cinnamon, the rest of the salt, and freshly cracked black pepper. Remove the lid, and simmer for 1.5 hours more, until the beans are soft. If needed, or if you like “soupier” beans, feel free to add more vegetable broth or water as the beans simmer.
- Step 5: Season with more salt or pepper, to taste. Enjoy with your favorite Mexican dishes – and always with a squeeze of lime juice!
How to store leftover pinto beans
Since there are only plant-based ingredients in these pinto beans (no ham hock here!), you can store them in an air-tight container in the fridge for up to one week. They will also keep in the freezer for up to three months.
Reheat the beans on the stove (or in the microwave… if you must). You may want to add a little water when you reheat them, since the beans thicken (and become more delicious!) as they sit in the fridge.
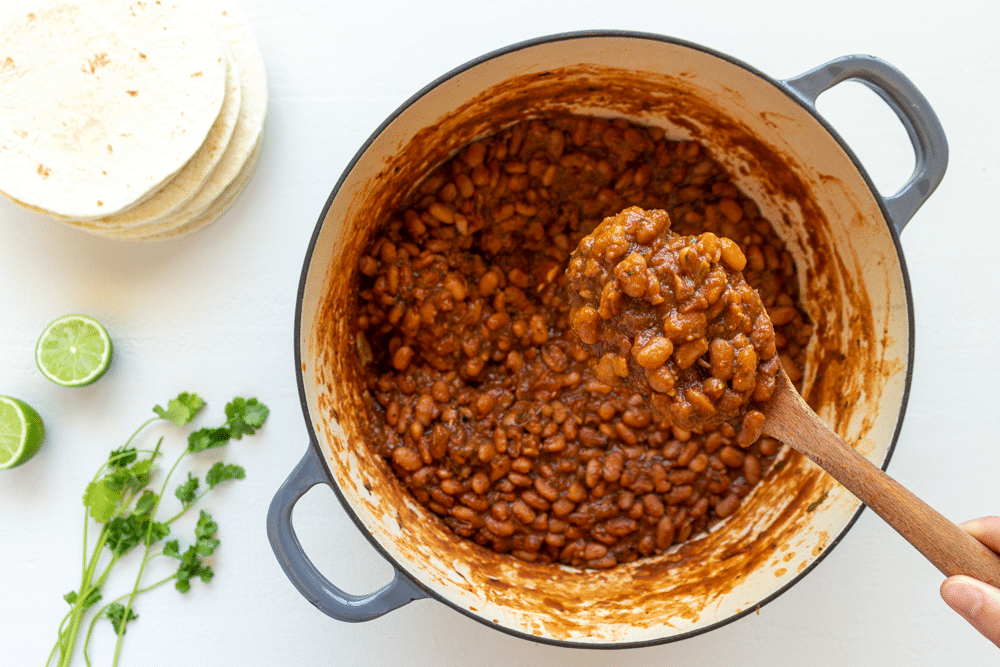
My Recipe for Homemade Mexican Beans (Frijoles de la Olla)
A lot has changed since I was a kid living in Southern California. (Like, I never really thought I'd grow up to start two businesses and move to a new country and hemisphere. Just as an example.) But one thing that has always been (and will always be) constant?
My love for Mexican cuisine and culture. And specifically, these beans.
I pretty much always have a batch of these homemade pinto beans at the ready in my fridge. I could eat them every day. Firstly, because they're insanely delicious. And secondly, because I love eating pinto bean, egg, and avocado tacos for breakfast. No better way to start the day!
I hope you love my homemade pinto bean recipe, inspired by the bold flavors of México. If you make this recipe, please leave a review in the comments section below – and feel free to ask any questions :)
Easy Mexican-Style Pinto Beans from Scratch
These Mexican-style pinto beans from scratch are packed with deep flavor, healthy, and so much better than store-bought. Stovetop, 1 pot, and just 12 ingredients!
- Prep Time: 2 hours
- Cook Time: 3 hours
- Total Time: 5 hours
- Yield: 12 servings 1x
- Category: Side Dish
- Method: Soak & Simmer
- Cuisine: Mexican
- Diet: Vegan
Ingredients
- 1 pound (or .5 kg) of dried pinto beans
- 8 cups of filtered water or vegetable stock
- 1 yellow onion, minced
- 3 cloves garlic, minced
- 1 cup fresh cilantro, chopped (or 1 tsp ground coriander)
- 1 tbsp ground cumin
- 1/2 tsp Ceylon cinnamon
- 2 tsp chili powder
- a 14oz. (or 400g) can of diced tomatoes
- 1 whole chipotle pepper (in adobo sauce), minced
- 1 tbsp adobo sauce
- 2.5 tsp salt, divided (or more, to taste)
- 1/2 tsp black pepper (or more, to taste)
Instructions
- Soak the beans: Add the dried beans and 8 cups of room temperature filtered water or low-salt vegetable stock to a heavy-based pot, like a Dutch oven. Soak the beans for two hours. Do not drain or rinse.
- Boil the beans: Cook the beans in the same broth they soaked in. Put the pot on the stovetop over high heat and bring to a boil.
- Stir in and simmer: Once boiling, stir in the minced onion, garlic, and a 1/2 tsp of sea salt, then bring the stove down to a simmer. Cover the pot with the lid askew, so some of the moisture can escape. Simmer for 1.5 hours.
- Add in the seasonings: Stir in the diced tomatoes, minced chipotle pepper and adobo sauce, fresh cilantro (or ground coriander), ground cumin, chili powder, Ceylon cinnamon, the rest of the salt, and freshly cracked black pepper. Remove the lid, and simmer for 1.5 hours more, until the beans are soft. If needed, or if you like “soupier” beans, feel free to add 1 or 2 more cups of vegetable broth or water as the beans simmer.
- Taste, adjust, and enjoy: Season with more salt or pepper, to taste. Enjoy with your favorite Mexican dishes – and always with a squeeze of lime juice!



Best pinto beans recipe I’ve had in 74 years!
Wow, that’s awesome! Glad to hear you loved this recipe!
These came out perfect, so much flavor. I love beans and cooked many a pot, this one of the best for sure. Thanks so much for sharing!1
Greg
Thank you so much for leaving a review! Glad you loved the recipe 😊
I’ve made these so many times, so felt the need to rate/comment. Love topping my chicken+rice bowls with these beans. My 4year old also gobbles them up! Easy to make with passive cooking time and very little chopping!
This comment makes me so happy. Thanks for taking the time to leave a review, Ellie!
I finally found the perfect pinto bean recipe…just the right balance of ingredients to make the beans fit in any menu. You can take them further into something a bit more fancy like cowboy beans or just eat them with a warm tortilla. Easy, healthy, and filling.
So awesome to hear, thanks Steve!
Enjoyed these beans. Will make again. Thank you.
These beans are spicy… but I like spicy, so I’m happy! They are the real deal! Will make again.
Yay! Thanks for leaving a review :)
These beans were so good. I don’t ever want to buy canned beans again. Next time I will make a double batch so I’ll have extra for the freezer. Thank you for sharing this recipe.
Thanks for your review, Tammy! I’m so glad you love this recipe for pinto beans from scratch. So delicious – and easy too right?! :)